
Drawing For Kids It’s possible that your kids won’t always realize that you’re only human and can’t do everything. Adults possess a wide variety of skills. However, your little child firmly believes that due to your extensive experience, you are capable of finishing any assignment.
If your children think you can draw anything, here is a simple drawing instruction demonstrating how to draw a duck. Drawing For Kids draw a duck for your child who is constantly trusting by using these straightforward instructions.
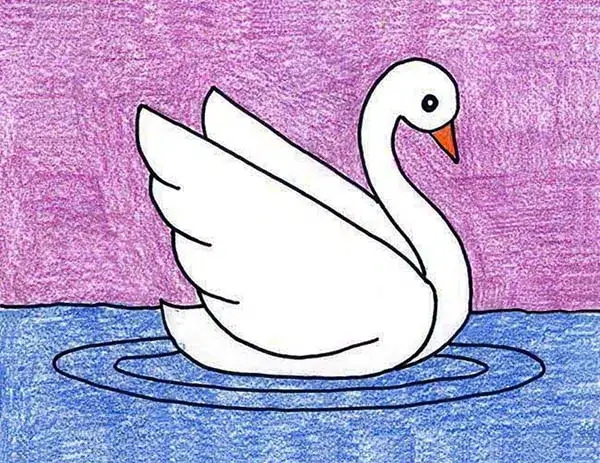
Similar to a rubber duck, this bird. But if you follow the straightforward instructions, you might make an adorable duck for your children. After that, your youngster can freely express their creative side. Alternately, novice artists can use this guide as a drawing tutorial to master the fundamentals of shapes and line work. Enjoy!
Duck Drawing For Kids
Create an Eye:
- Create a crooked circle to serve as the duck’s eye first. Inside the first tiny circle, draw a second one. This smaller circle’s orientation should indicate which direction you want the duck to gaze. An eyebrow can be added by drawing a curved line over the larger circle.
Expand the mind:
- It would help if you drew the head and the eye at this point. The eye should focus mostly on the head form’s general left side. As shown in the figure, draw a shape resembling a lightbulb above and around the eye. The aperture at the bottom that resembles a lightbulb shouldn’t be closed; this will be the duck’s neck.
Include the beak:
- For the duck’s bill, I can see painting a half-banana or crescent moon. The upper portion of the beak should resemble a half-banana, with the upward curve pointing toward the top of the page.
- Draw a smaller half-banana beneath the larger one to represent the bottom of the beak; this shape should slope downward and toward the bottom of the page. The two forms should firmly join at their heads, albeit deviating from one another at their ends.
Improve Your Body:
- Draw a half-circle C shape from the base of the neckline to indicate the duck’s chest before completing the rest of the body. The line extending past the head and coils upward toward the tip of the tail is then continued, commencing from the base of the C.
- To finish the duck’s main body, draw a wavy line from the tail’s end to the head’s rear. The upward slope will give the tail the appearance of having tail feathers.
Take a Wing:
- The wing is drawn inside the duck’s body in the following stage. Draw a crooked straight line to the right at first. Then, bend this line in the shape of a fishhook toward the duck’s head. These two lines should come together to form a shape that resembles wings. Add horizontal lines to depict the wing feathers to complete it.
Simple Steps to Draw a Duck
Ducks are frequently called “waterfowl” since they typically live in moist areas like ponds and rivers. Ducks can live up to 20 years if given the right care and depending on the species. The production of eggs is influenced by the amount of daylight.
When there is more daylight, the ducks will lay more eggs. These adept swimmers have an inner layer of down that keeps them warm and dry, covered by waxy, impermeable feathers. Some species of duck may dive as far as 240 feet, while others can fly as high as 21,000 feet. With the help of the wind, they may move at speeds of up to 60 mph and across great distances.
Make the body and the head:
- The duck’s head and body should be drawn first. To do this, create a tiny oblong on the paper’s upper right side. Then, in the center, draw a sizable oblong. This will function as your duck’s body.
Clasp the Neck:
- Let’s make the duck’s neck now that the body and head have been completed. Draw this from the left side of the head down to the lower part of the body. The line should be drawn from the bottom right corner of the head down to the body on the opposite side.
Make a beak and a tail:
- Let’s draw a beak to aid the duck in getting one. Draw a rough line that slopes downhill from the head’s top right corner to the bottom. Draw a second line, bend the bottom slightly, and place it on the lower third of the right side of the skull. The bottom must pick to be longer than the upper beak.
- The two lines are then connected by drawing an upside-down V in the middle of them. Draw an erratic shape for the tail on the left side of the body; the reference image up top will assist you in.